Note:
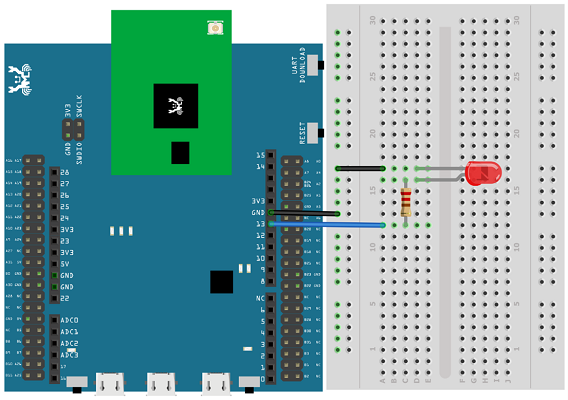
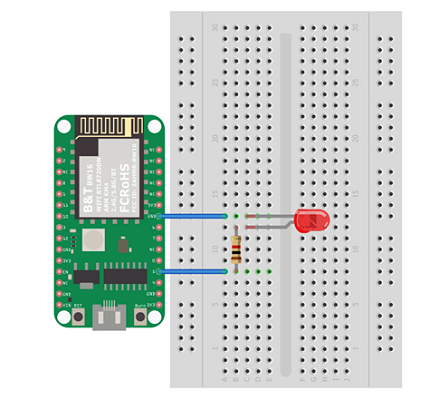
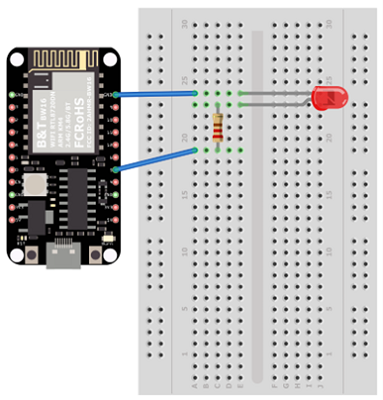
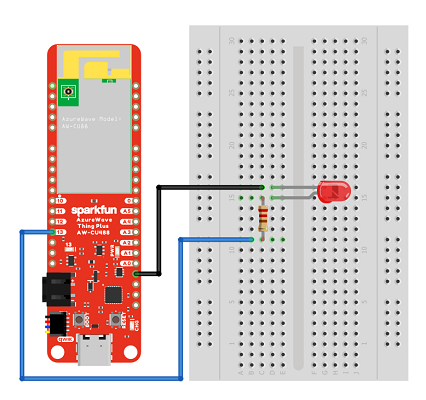
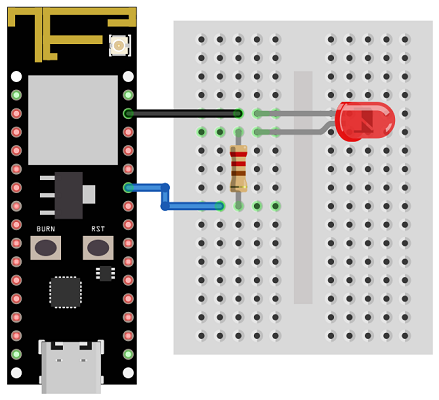
For RTL8720DN(BW16) board, you may consider re-defining “LED_PIN” macro to 10 for built-in green LED, or 11 for blue built-in LED, or 12 for red built-in LED to avoid using extra components.
Then open “File” -> “Examples” -> “WiFi” -> “SimpleWebServerWiFi”
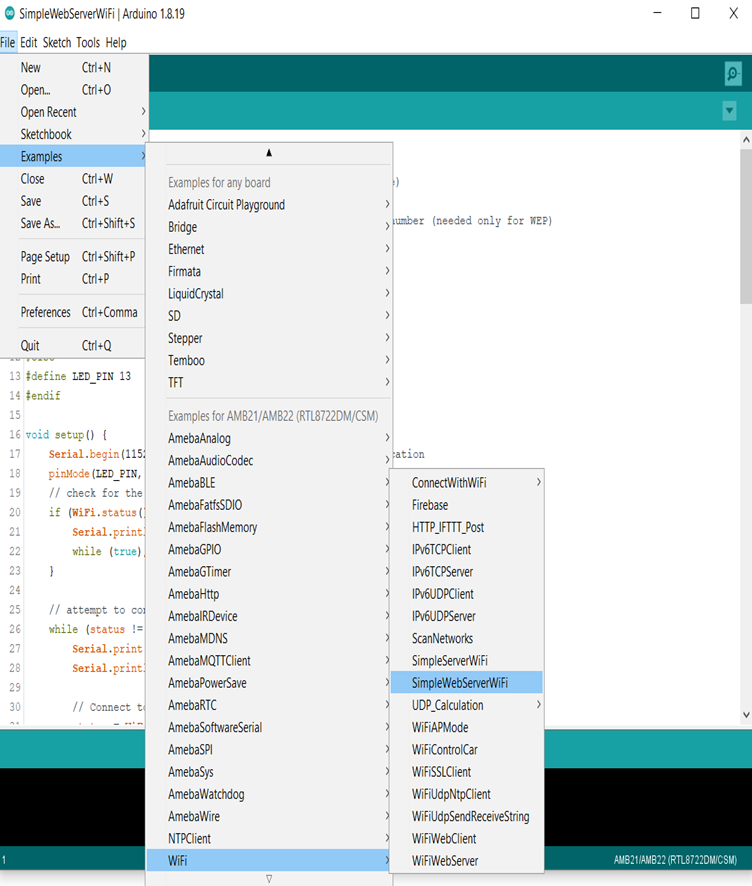
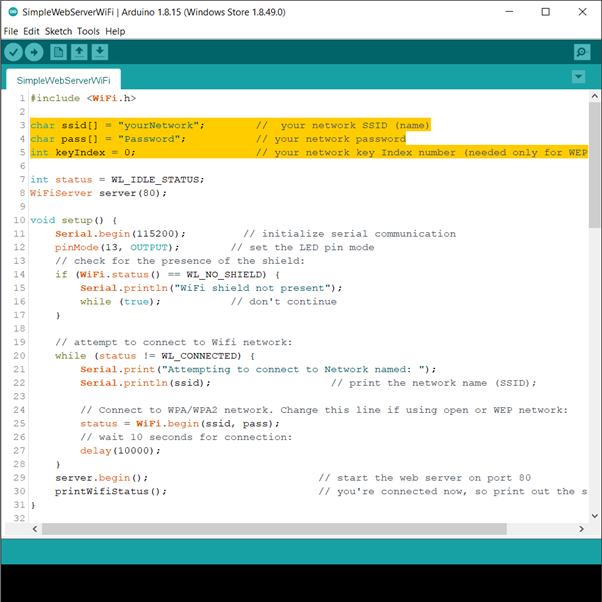
In the sample code, modify the highlighted snippet to corresponding information.
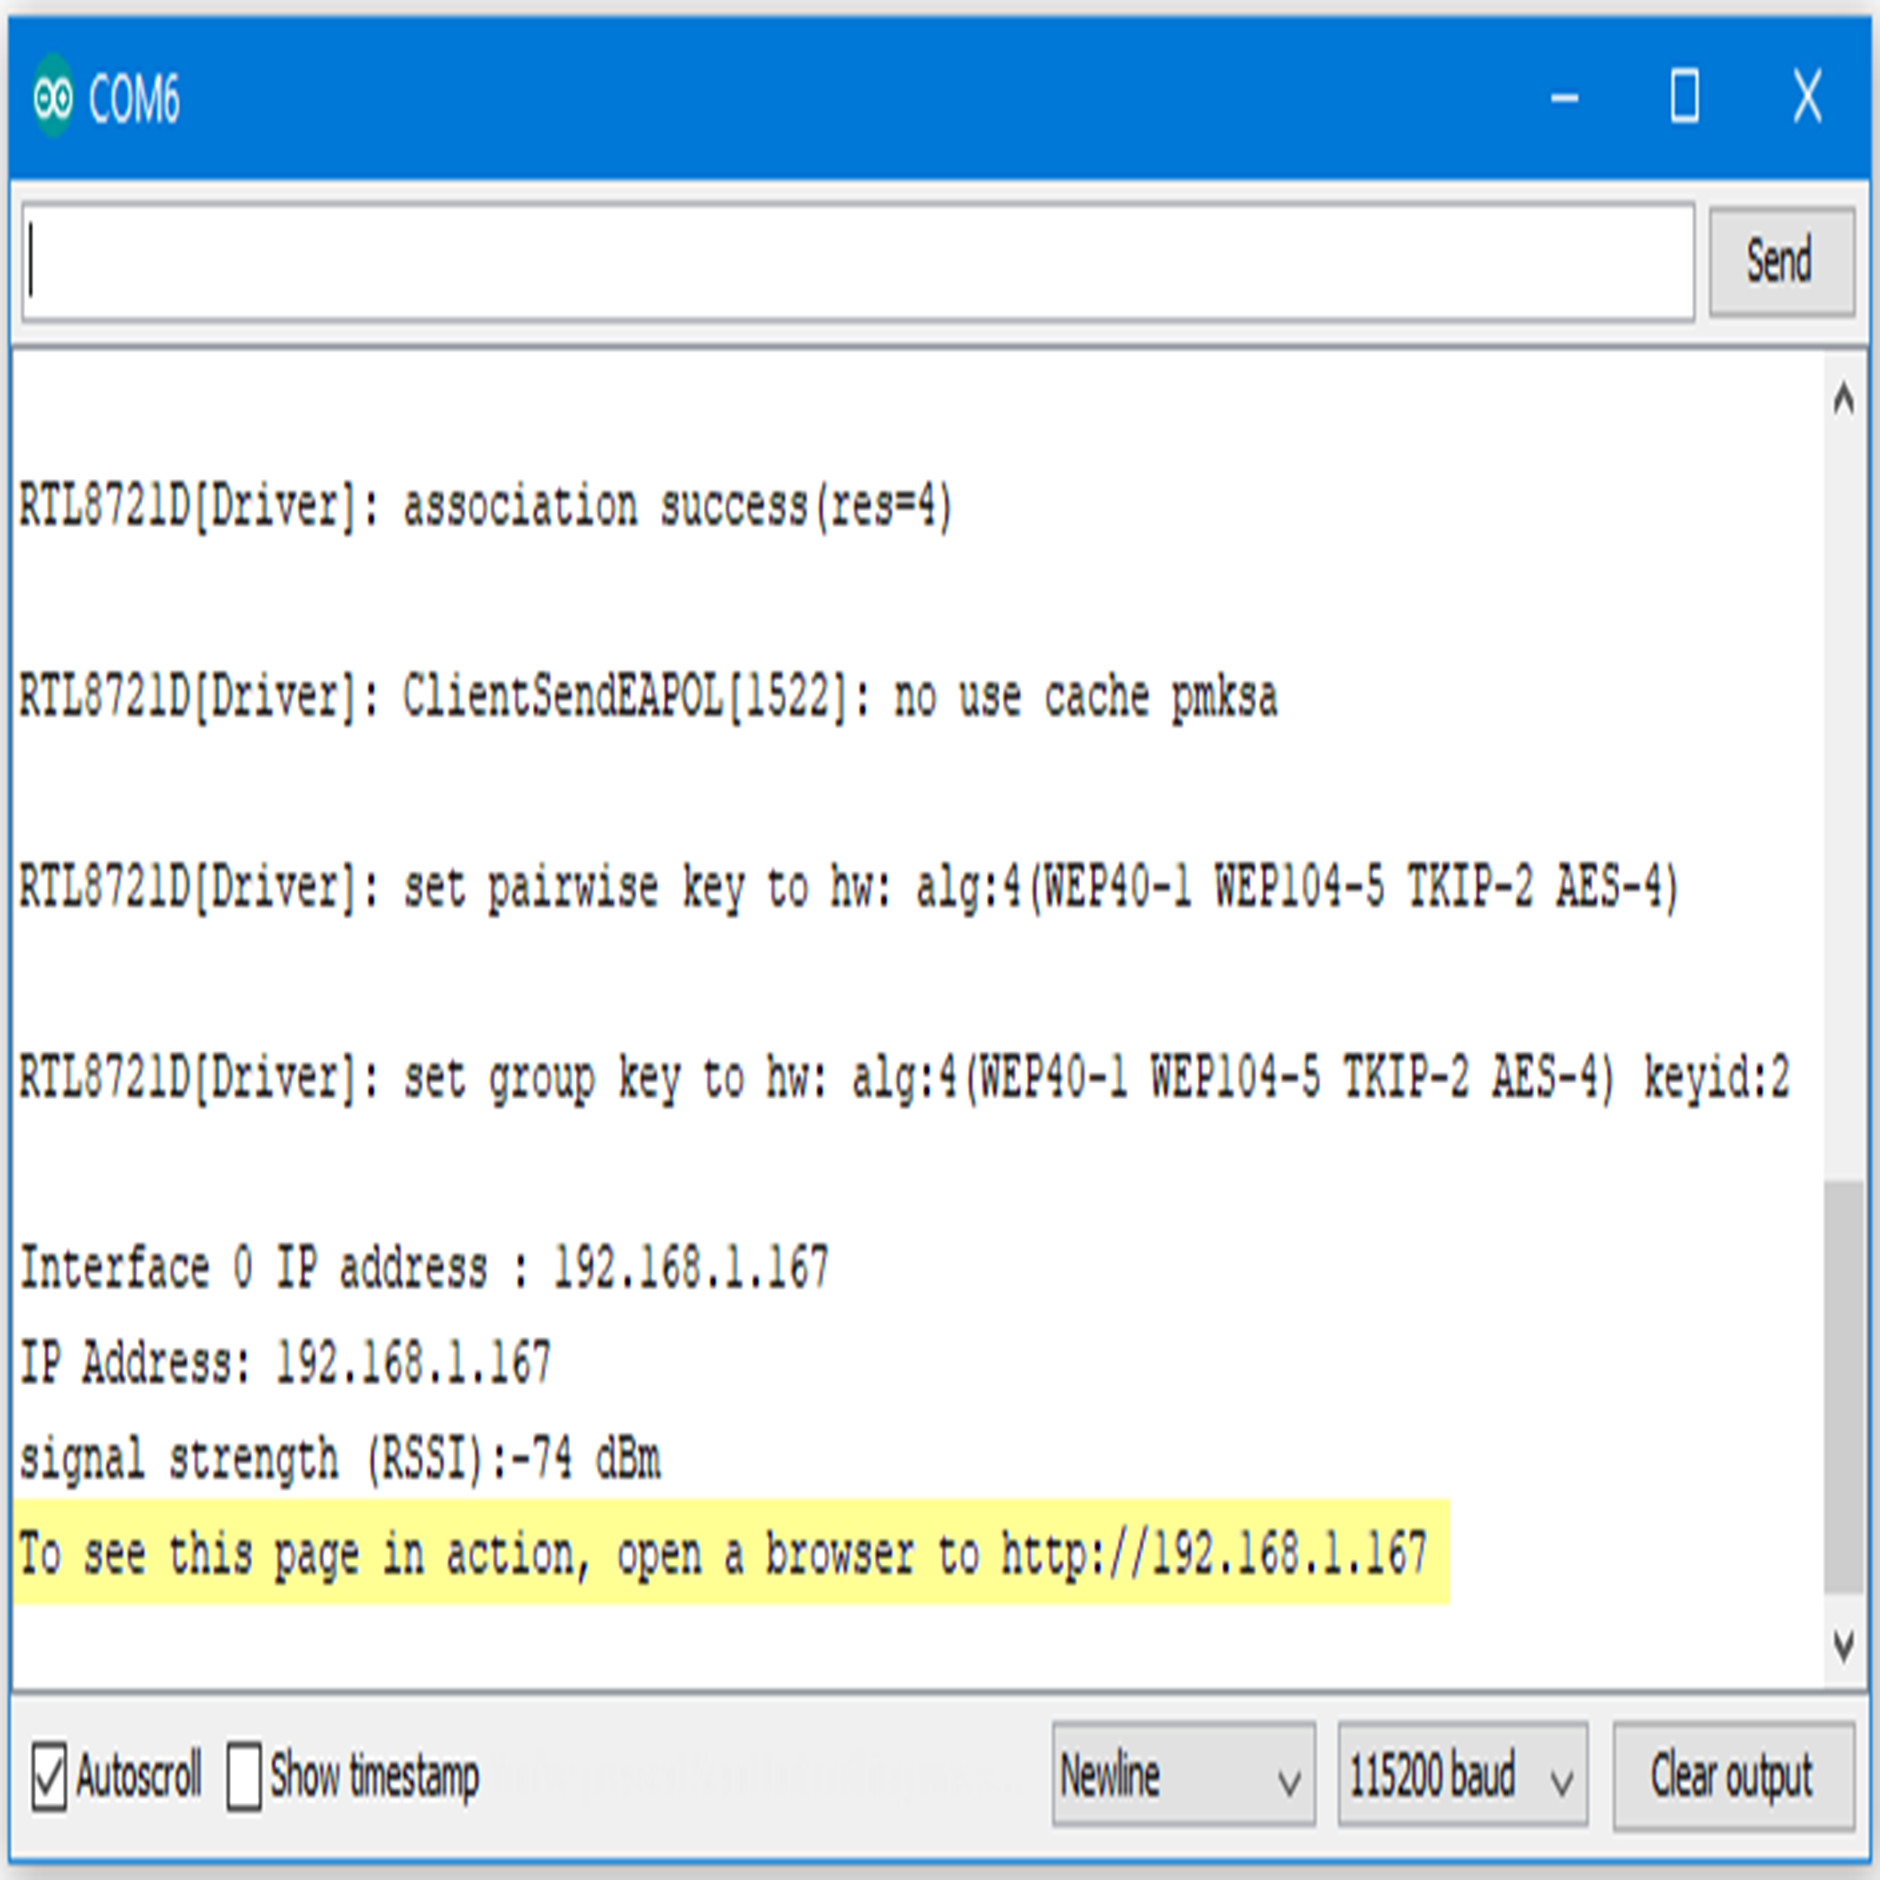
Upload the code and press the reset button on Ameba. When the connection is established, you will see the message “To see this page in action, open a browser to http://xxx.xxx.xxx.xxx” in the Arduino IDE, as shown in the figure:
Next, open the browser of a computer or a cell phone under the same WiFi domain, enter the address in the message.
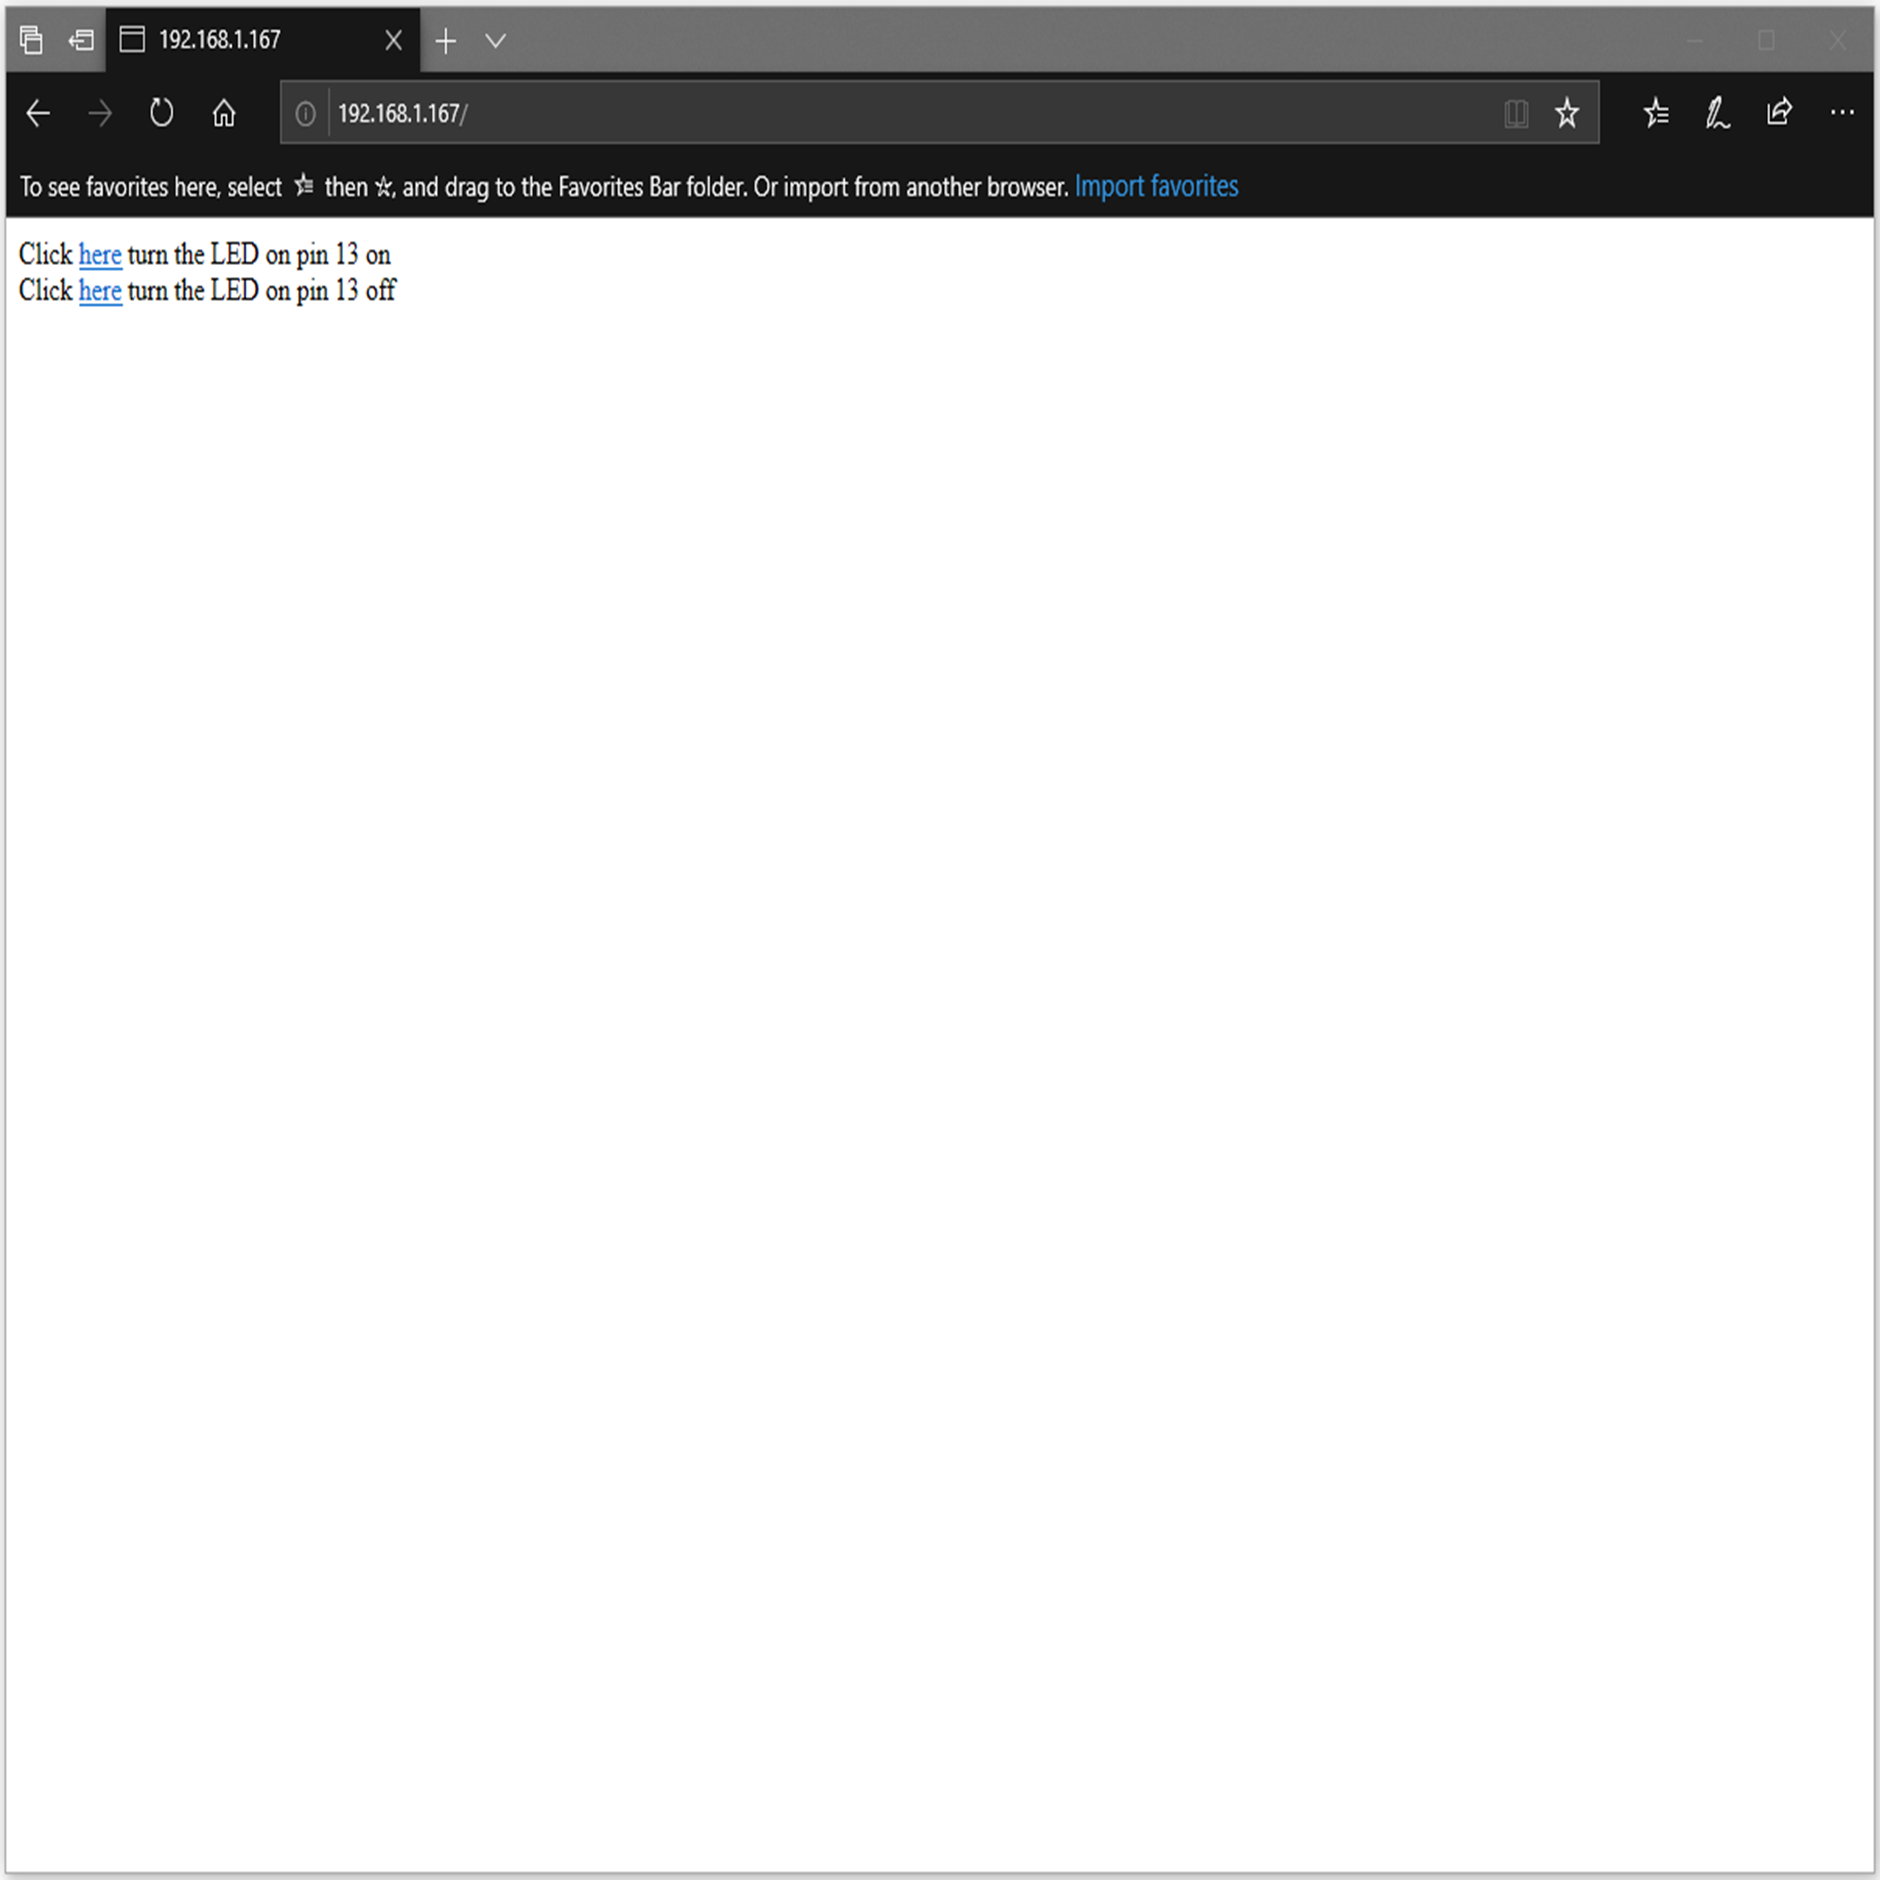
In the webpage, you can turn on/off the LED.
Code Reference
Use WiFi.begin() to establish WiFi connection.
https://www.arduino.cc/en/Reference/WiFiBegin
To get the information of a WiFi connection:
Use WiFi.SSID() to get SSID of the current connected network.
https://www.arduino.cc/en/Reference/WiFiSSID
Use WiFi.RSSI() to get the signal strength of the connection.
https://www.arduino.cc/en/Reference/WiFiRSSI
Use WiFi.localIP() to get the IP address of Ameba.
https://www.arduino.cc/en/Reference/WiFiLocalIP
Use WiFiServer server() to create a server that listens on the specified port.
https://www.arduino.cc/en/Reference/WiFiServer
Use server.begin() to tell the server to begin listening for incoming connections.
https://www.arduino.cc/en/Reference/WiFiServerBegin
Use server.available() to get a client that is connected to the server and has data available for reading.
https://www.arduino.cc/en/Reference/WiFiServerAvailable
Use client.connected to get whether or not the client is connected.
https://www.arduino.cc/en/Reference/WiFiClientConnected
Use client.println() to print data followed by a carriage return and newline.
https://www.arduino.cc/en/Reference/WiFiClientPrintln
Use client.print() to print data to the server that a client is connected to.
https://www.arduino.cc/en/Reference/WiFiClientPrint
Use client.available() to return the number of bytes available for reading.
https://www.arduino.cc/en/Reference/WiFiClientAvailable
Use client.read() to read the next byte received from the server the client is connected to.
https://www.arduino.cc/en/Reference/WiFiClientRead
Use client.stop() to disconnect from the server the client is connected to.
https://www.arduino.cc/en/Reference/WiFIClientStop
