For motor car:
- Ameba x 1
- L298N H-Bridge x 1
- 4-wheel motor car or 2-wheel motor car+Universal wheel
- 18650 Li-ion battery >=2 (optional)
- 18650 batter holder x 1 (optional)
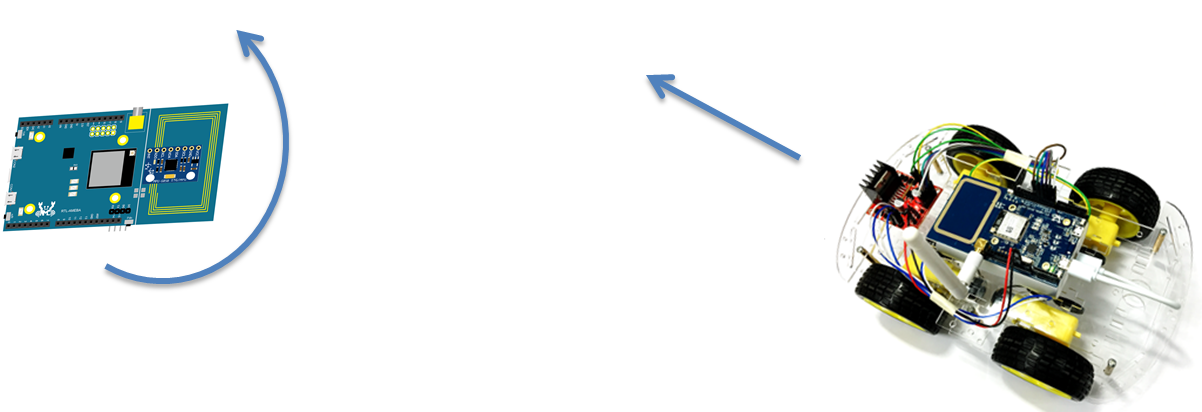
Ameba controller:
- Ameba x 1
- MPU6050 x 1
- lithium polymer (optional)
Example
 Please download AmebaMotors library version 1.0.3:
https://github.com/ambiot/amb1_arduino/raw/master/Arduino_libraries/AmebaMotors-1.0.3.zip
https://github.com/ambiot/amb1_arduino/raw/master/Arduino_libraries/I2Cdev.zip
https://github.com/ambiot/amb1_arduino/raw/master/Arduino_libraries/MPU6050.zip
https://www.arduino.cc/en/Guide/Libraries#toc4
Open the sample code in “File” -> “Examples” -> “AmebaMotor” -> “car2wd_mpu6050_control”.
We use the Li-ion battery to supply power. In general, a Li-ion battery provides 3.7V voltage (4.2V when fully charged). Connect the positive pole of the battery to the 5V pin on Ameba board, the voltage would be converted to 3.3V by the voltage reduction module.
The figure below shows the wiring diagram. Please pay attention to the direction of the X-axis and the Y-axis of MPU6050.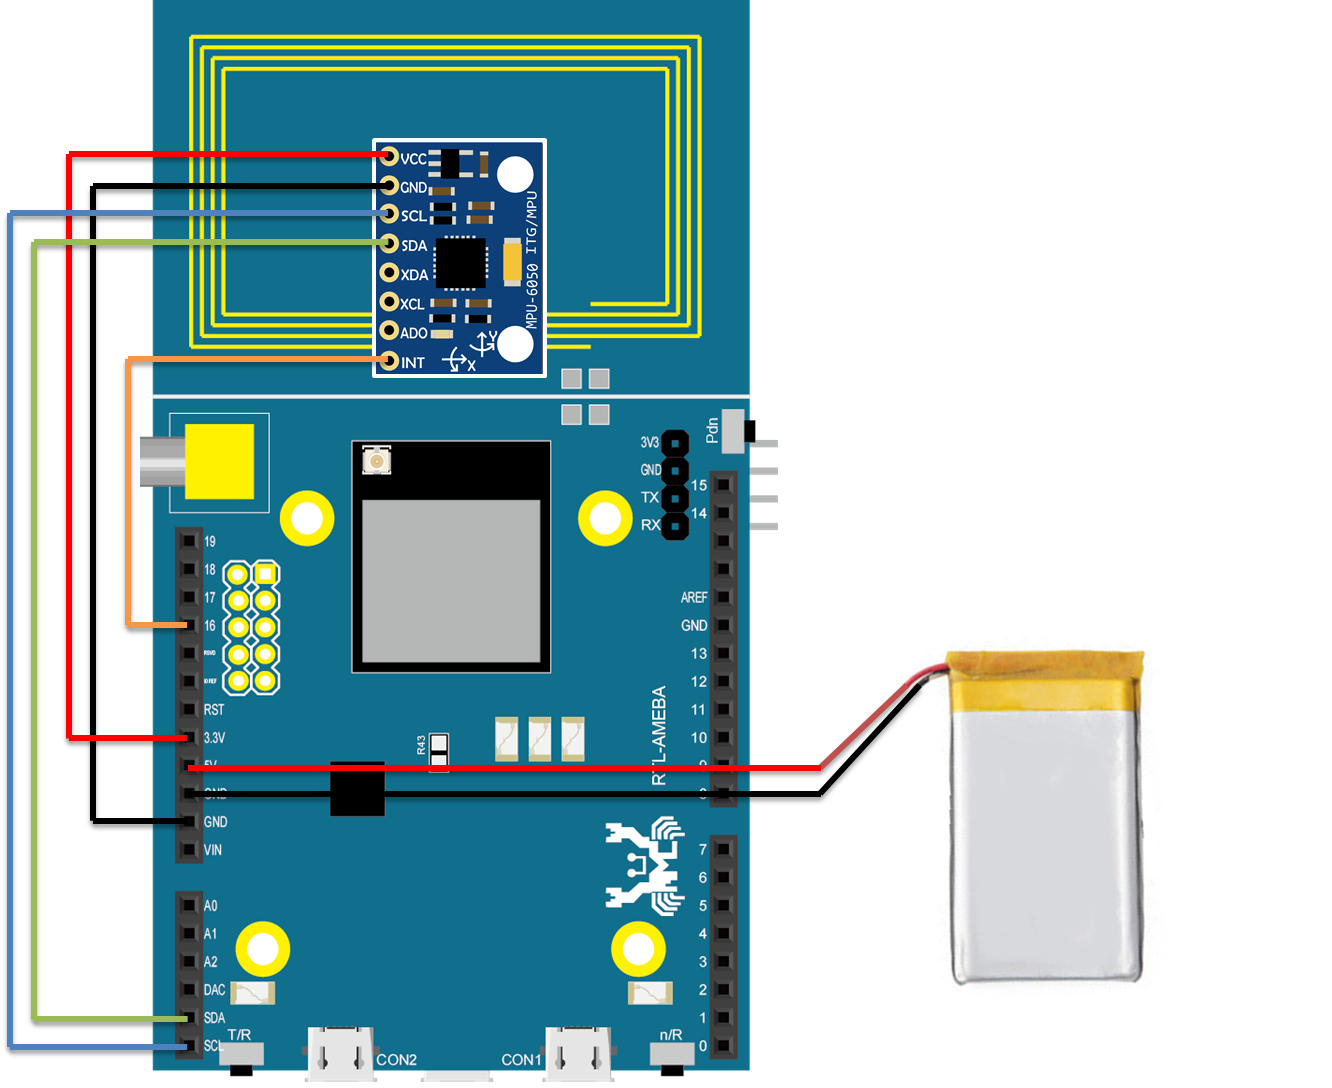
After the wires are all connected, the Ameba board should look like this (the battery is at the backside of Ameba):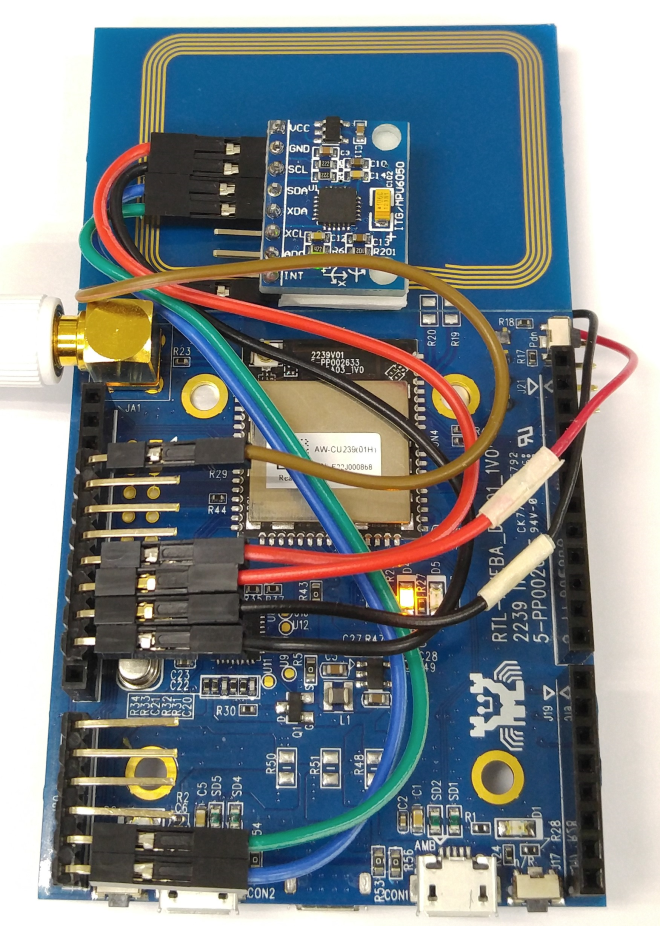
There are two steps to control the motor car:
1. Activate Ameba remote control: To avoid triggering the mpu6050 6-axis sensor by mistake, we set an activate gesture on Ameba remote control. To activate, you have to turn Ameba board upside down and then turn it back for twice in 3 seconds.
2. Controlling motor car: For controlling the moving of motor car, when Ameba is inclined forward, the motor car would move forward, when Ameba is inclined backward, the motor car moves backward. For controlling the turning of motor car, incline Ameba board to the right to make the car turns right, and incline Ameba board to the left to make the car turns left.
Below is the demo video of this example:
Code Reference
In the sample code, please notice the following:
- If the time it takes for WiFi data transmission is long, you need to reset the DMP FIFO of MPU6050.
The following shows the implementation to reset FIFO. We wait for the MPU interrupt, and send the I2C request to reset FIFO after the MPU interrupt occurs.// wait until UVC is ready for streaming void safeResetMPU6050() { /* If dmp interrupt happends at I2C send/recv, then MPU6050 would hang and can only recover * by plug out/in VCC. To avoid this happen we wait next interrupt and then reset buffer */ mpuInterrupt = false; while (!mpuInterrupt) { os_thread_yield(); // without yield, the empty busy loop might make CPU behave un-expected } mpu.resetFIFO(); mpuInterrupt = false; } - Controlling the motor car: We use only “Pitch” and “Roll”.
Rolling controls the X-axis motion, bending down decreases the value, and pulling down increases the value.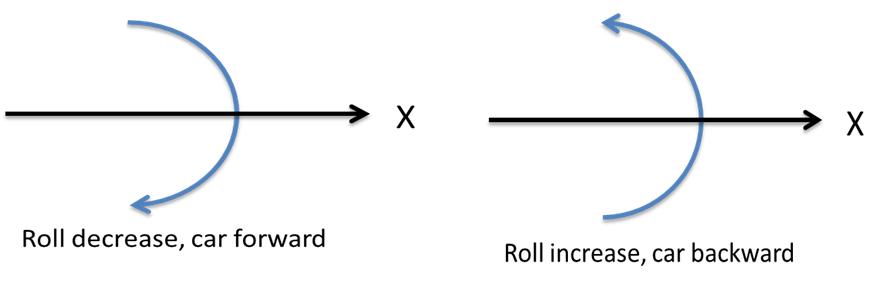
Similarly, pitching controls the Y-axis motion.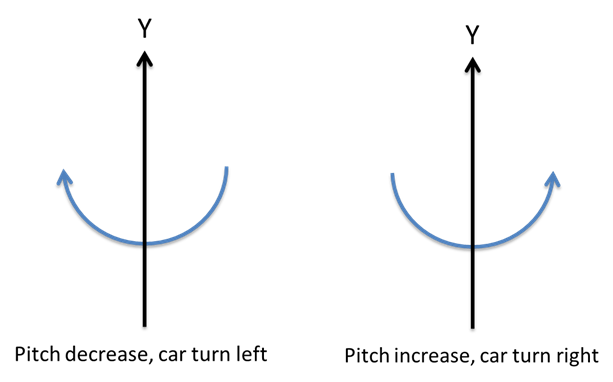
When converting the value to corresponding action, it is recommended to define a no-action range. In the sample code, the motor car has no action when the angle value is between -24 and +24, and only responds when the value is -24~-48 or +24~+48.
